You can manage whom has access to your tickets via the Organization management area of your help desk account.
To manage your company or organization's users, please do the following:
Manage Organization
- Login to the help desk
- Go to the account menu at the top right - it may show just your name
- Under the account menu, pick "Account"
- On the account profile page, scroll down to the Organization section
- If there is only a Organization field:
- Type in your company name or organization's name in to this field
- Save your account profile via the Save button at the bottom of the page
- You should now see the Organization section
- Under the Organization section, click "Manage Organization"
Adding Users:
- Go to the Manage Organization page described above
- Click on the "Users" tab at the top of the Manage Organization page
- Click "Add User" button
- Fill out the user information - email, name, password
- Select which user role they should use
- Available User Roles:
- User - provides access to only their tickets. Can submit and reply to their tickets.
- Manage - provides access to all tickets within the organization. Can submit and reply to any ticket within the organization
- Save the user
- Instruct the new user to check their email for a confirmation email.
- Please have the new user click the confirmation email's verification link .
- Until this verification is completed, the user will not be able to login and will instead receive an error instructing them to verify their account.
- You should now have multiple users listed within the organization. An example of this would be:

Remove Users
- Go to the Manage Organization page described above
- Click on the "Users" tab at the top of the Manage Organization page
- Find the user you want to delete
- Click the remove button next to the user - it should be an "X"
- Click "Update" to save the changes
Change User Permissions
- Go to the Manage Organization page described above
- Click on the "Users" tab at the top of the Manage Organization page
- Find the user you want to change
- Select the new role via the drop down Access Level menu to the right of the user's name
Change Organization Ownership
- Go to the Manage Organization page described above
- Click on the "Users" tab at the top of the Manage Organization page
- Under the "Transfer Ownership" section, select the new owner
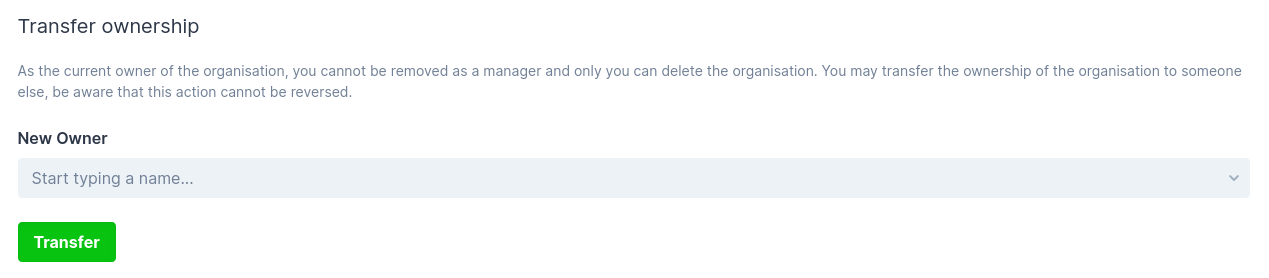
- Click "Transfer" to complete the transfer process
Editing User Information
User information, name, email, etc can only be updated by that user and not within the Organization management page. Removing and adding the user again is the only option for updating at this time. We can also update the user information if there is no other option.